Episode 112
Hey there, my friend, and welcome to Episode 112! It’s time for our annual Window Star Challenge.
And I want to start off this with a confession: I’m not always good at slowing down or taking a break.
So, I want to share with you three ways that making folded paper window stars can cultivate mindfulness!
Mindfulness is that sometimes illusive state of being in the present moment. And creating something beautiful, like a window star, with our hands can really help us to slow down and pause.
In the show notes below, I have a poem to share with you and several video tutorials, so YOU can make some window stars for yourself and with your kiddos.
A Time to Pause
This time of year ~ it’s mid-December as I am recording this episode ~ there’s so much to DO. Really, that’s probably true any time of year. But then the irony is that this is also the time of year when we want to be with family, enjoy the holiday season, slow down and take it all in. Because we want the holiday season to feel special and festive, but also relaxing.
So for this year’s Window Star Challenge, I’m taking a stand for creative, contemplative time to think and dream. To let ideas brew and creativity surface.
This is just what projects such as making folded paper window stars allow us. Making a star is calming, repetitive, colorful, creative, and so very satisfying. And unlike other types of handwork such as knitting or crochet, the results are pretty quick.
While I’m doing this for myself, I invite YOU to join me. Setting aside a half an hour can yield two or even three window stars. And it’s a great way to practice mindfulness or give you time to meditate on a problem or a struggle you’re having.
3 Ways Folding Window Stars Cultivates Mindfullness
First, I want to share with you three ways that making folded paper window stars can help to cultivate mindfulnes.
- It’s an activity that brings us to the present moment by giving us a focused activity to do with our hands. Folding paper window stars is similar to origami – which has actually been used in Japan “to help them (elementary age children) develop patience and spatial skills as well as enhance memory and concentration.” (5 Ways Origami Boosts Mindfulness from Psychology Today.) And I would say that making these lovely window stars does the same.
- Folding window stars helps us to develop focused attention by training our mind on an object. I love how a simple activity such as folding paper into beautiful stars can quiet our squirrelly minds. The mind chatter stops when we focus on creating. Rudolf Steiner, the founder of Waldorf education, actually gave the suggestion of focusing our gaze on a simple inanimate object like a pencil for a period of time each day as a way to develop our thinking. Making things with our hands can also quiet our minds.
- Gives us an opportunity to practice letting go of perfectionism. Window stars can be hard, especially for those of us who want to get it right. And also hard for kids to get the hang of. Elementary age kiddos in particular, who might struggle with getting the folds of the slippery paper straight. Or some kids tend to rush through these kinds of activities. Or maybe they choose to make window stars in hunter camo colors, like black and greens. 😬. Do we hang these up? Sure! Do we feel sad that our window display is not as pretty as the one on Instagram? Why yes, we do! But we could all use a little lightness about perfectionism during the holidays!
One idea is to turn making window stars into a teamwork event. We often made these stars as gifts for the grandparents and others, so everyone could play a role according to their age or ability or desire. It can be like a production-line where everyone does one part like the folding, or the gluing. Then we’d package them up in protective cardboard and send them off to their new home!
So I want to encourage you to make window stars with your kiddos. But also….just make some for YOURSELF.
Here’s a beautiful poem for you to contemplate while making your creations…
Stars
by Jessica Chilton
No one asks a star
to shine brighter
to shape up its 5 corners
and become
Crayola yellow.
No, we just
lie on our backs
surrendered to its sky.
Perhaps we are its stars
and it lies there
on the sky’s cozy
big black blanket
not asking us
to be anything else
but exactly who we are –
beautiful sparks
of human life.
We all have at our core a deep desire as human beings to shine forth. To bring a little more light, a little more beauty, a little more of our unique selves into the world. To be seen.
And, to be accepted exactly as we are.
The 2022 Window Star Challenge
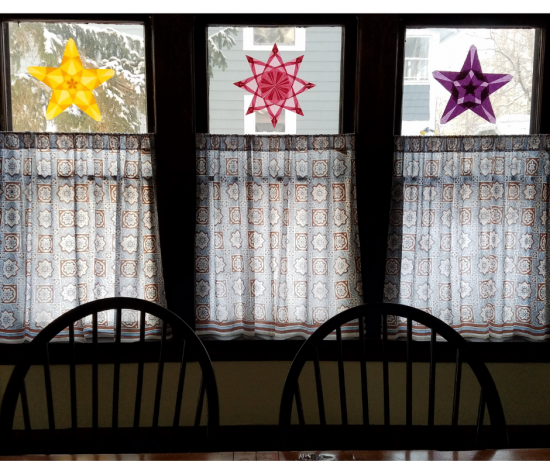
I still hang up window stars every winter even though our kids are grown, to bring more sparkle and light into our home during the short, gray days of this season here in northeastern Ohio. Window stars bring warmth and color back into our lives when we need it most!
So, I invite you to join me for the Window Star Challenge this year.
Below you’ll find a list of supplies, a few tips for making stars, and video tutorials so you can make some stars of your own.
Supplies List for Making Folded Paper Window Stars
- 5-8 squares of kite paper or tissue paper: The 6”x 6” size works best. You can choose to use all one color or a variety of colors. Four of one color and 4 of another can be used to produce an every-other-point pattern, or eight different colors to make a rainbow. Your choice!
- 1 glue stick
- Flat surface for folding and gluing
- Bone folder or a flat tool like a ruler for tightening the folds (the back of a butter knife or any flat implement will do, too).
- Tape for hanging up on your window.
You can purchase kite paper here at Paper, Scissors, Stone: Waldorf Supplies or online here at my referral link.
Tips for Making Folded Paper Window Stars
- Gather your supplies: squares of kite paper, a flat surface, a ruler for pressing the folds flat, and a glue stick
- You’ll be folding each point individually, then gluing them all together.
- For each fold, slide your finger to the center of the fold and crease from there to keep the paper from wrinkling.
- Lay out all the points in the star so that you can see your finished star.
- Now, to put your star together, lay one point down on a flat surface. Take a second point, line it up, and use a dab of glue near the center of the star as you add each point.
- To add the last point, you’ll need to lift the first point and slide it on top of the other.
- Add dabs of glue at various places to keep the star together.
- Hang your star in the window using a small piece of doubled over clear tape!
⭐ See how to make your own window stars in the videos below. ⭐
Here’s a photo of the 16-pointed window star! ⭐
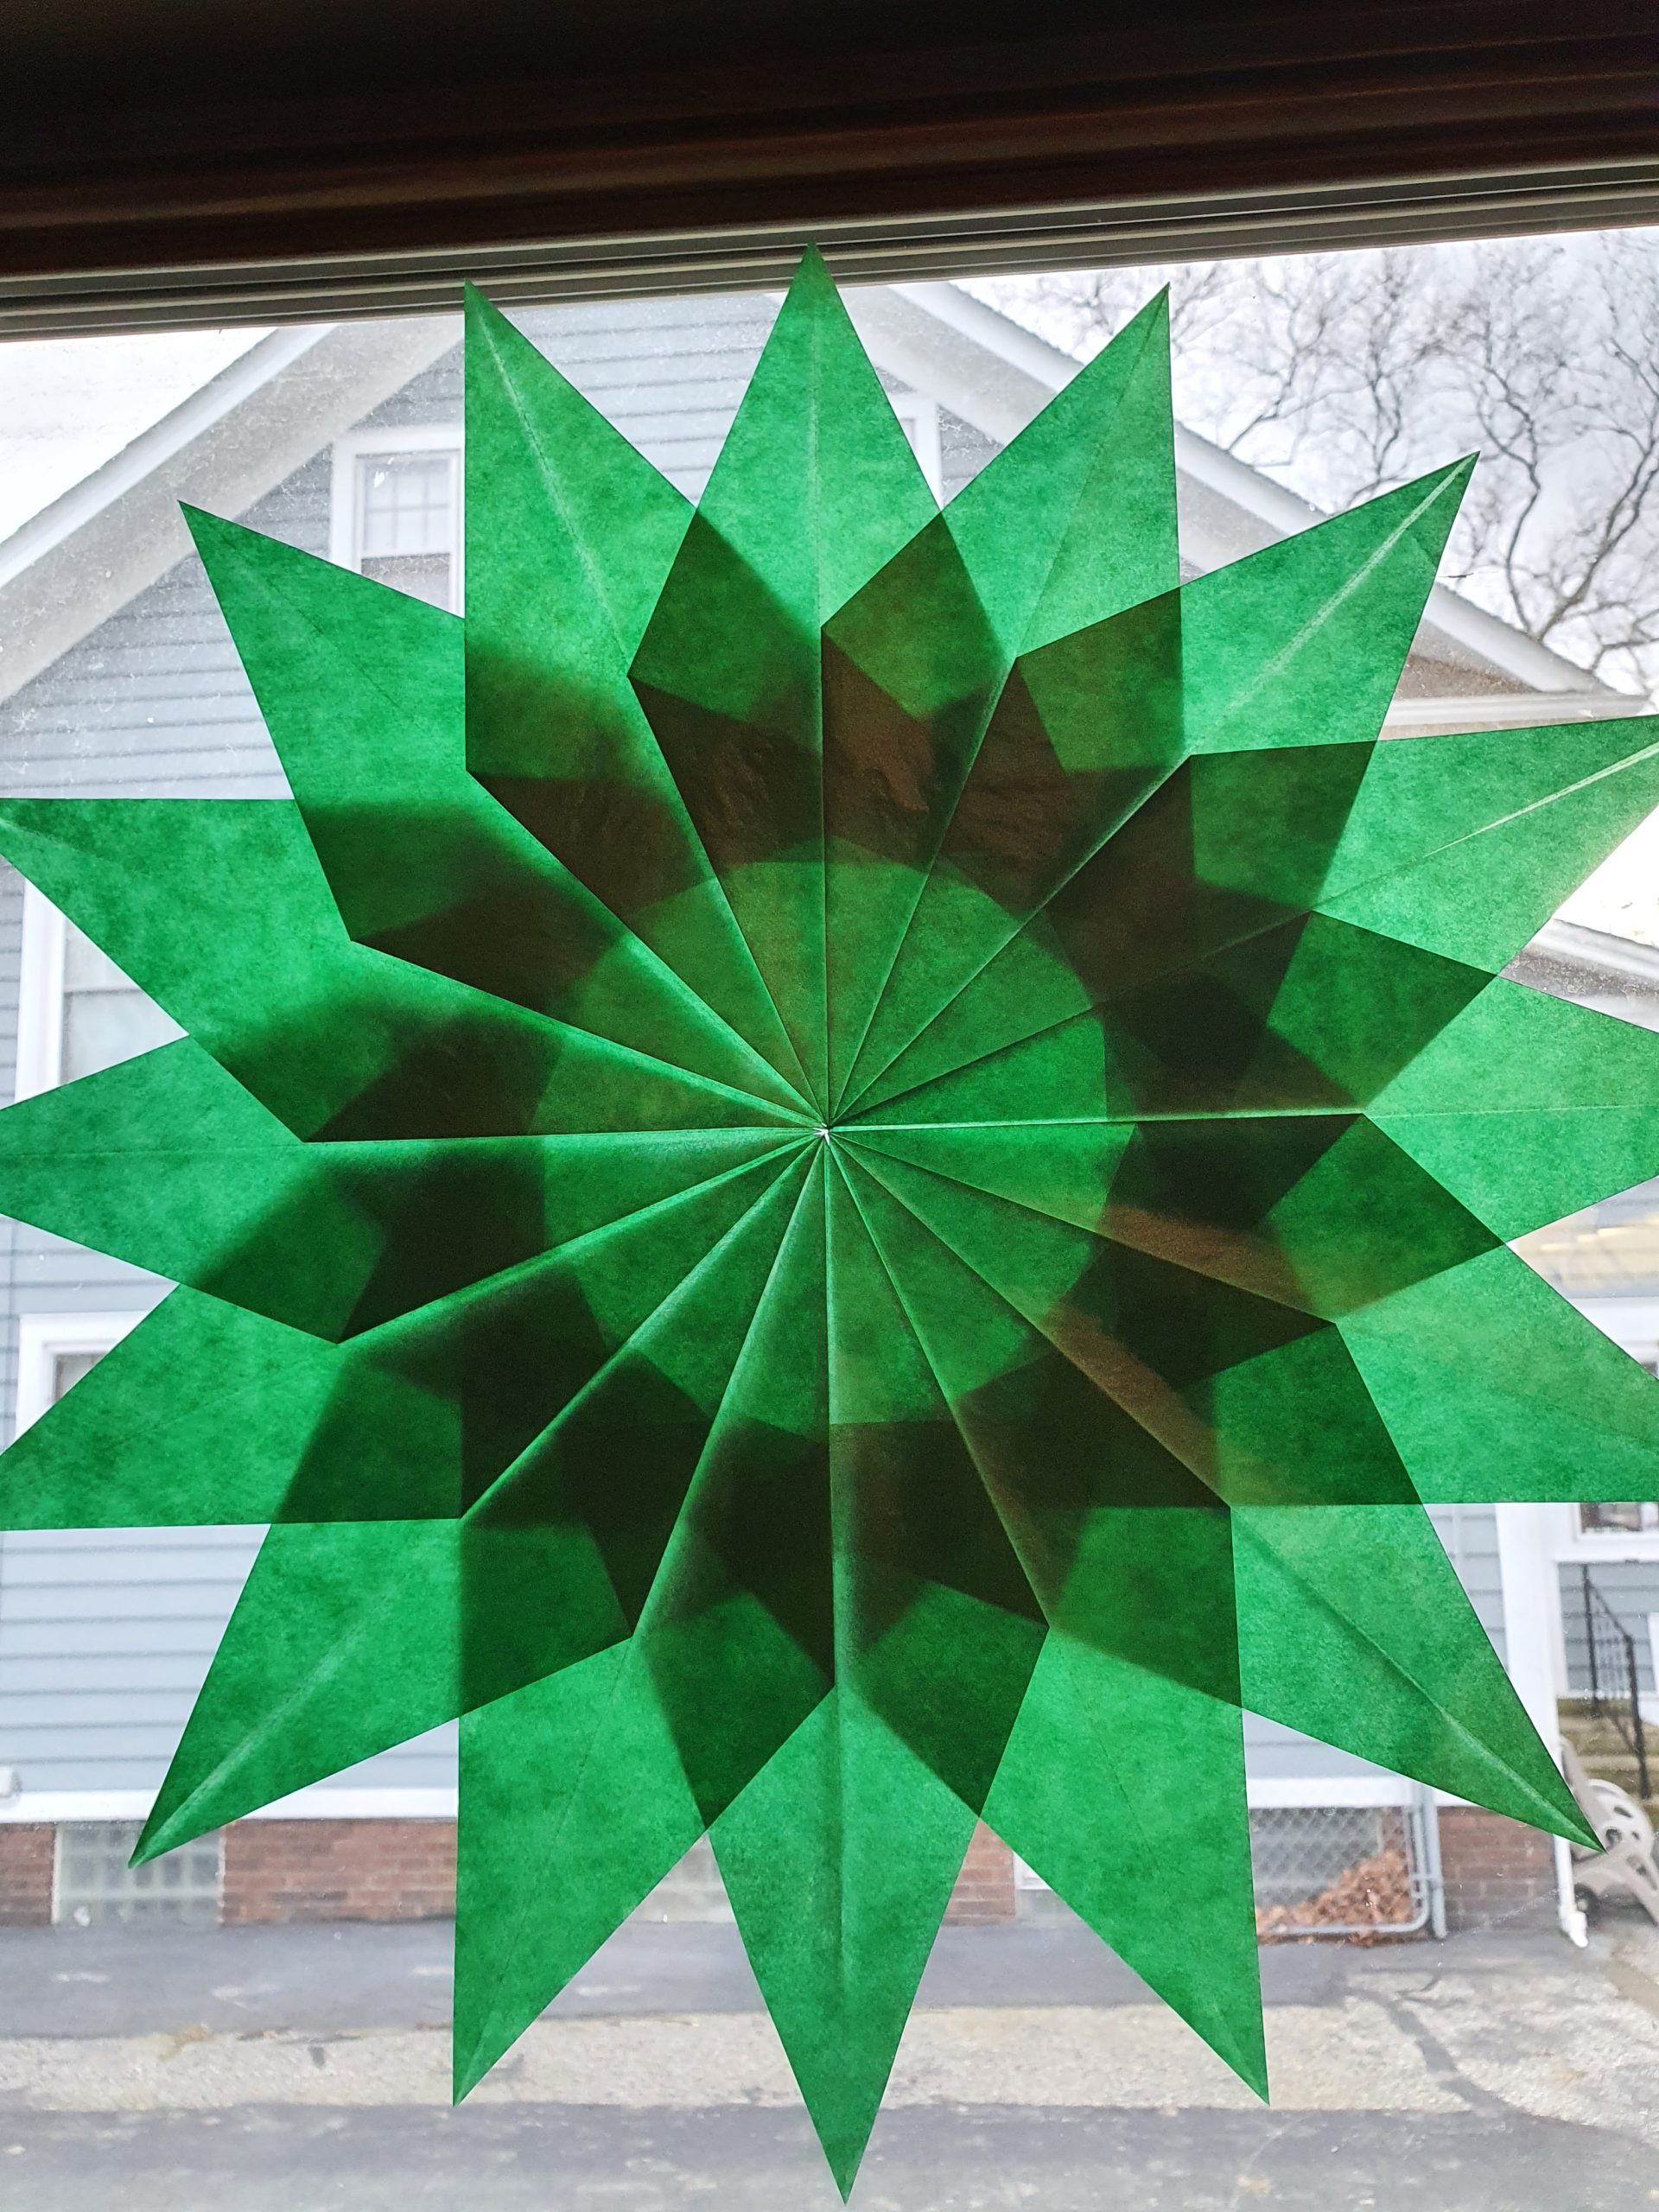
See how to make two other window star patterns in the video below.
You’ll find the very first year of the challenge here ~ Episode #9: Welcome Winter with the Window Star Challenge ~ where you can hear the story of how I hung a folded star in my window to remind myself of the reasons why I chose to homeschool. I made my star with the intention of it being a guiding light on my homeschooling journey. In this episode, you can also download a beautiful set of Inspiration Cards to help you set your very own Window Star Intention.
If you want more ideas and patterns for making window stars, here’s a beautiful book for you to check out. (This is my referral link. You can read my full disclosure policy here.)
Crafting Magical Window Stars: How to Make Beautiful Paper Stars
Here’s the Window Star Challenge!
When your paper star is hung in your window, snap a photo and post it on social media with #windowstarchallenge.
So that we can all come together virtually, to celebrate each other, our unique gifts, and our shining light!
I so very much look forward to watching our virtual window star collection grow. 💜
Rate & Review the Podcast
If the Art of Homeschooling Podcast has inspired you, I’d LOVE it if you could rate and review the podcast on your favorite podcast player! Reviews can be left on Apple Podcasts (iTunes), Podcast Addict, or Stitcher.
Or simply pop on over to lovethepodcast.com/artofhomeschooling and choose where you want to leave your review.
And if you want to show your appreciation for the Art of Homeschooling Podcast, you can buy me a coffee!
Never Miss an Episode!

Check Out All the Episodes Here